
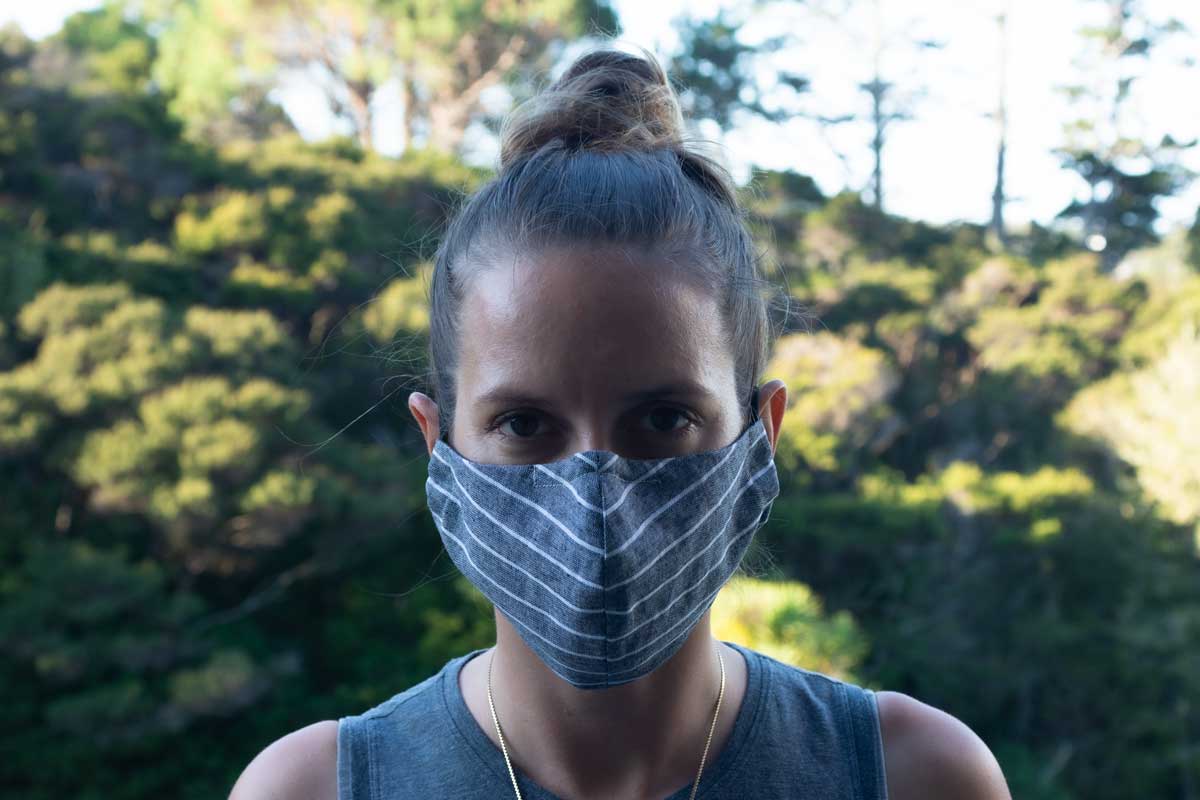


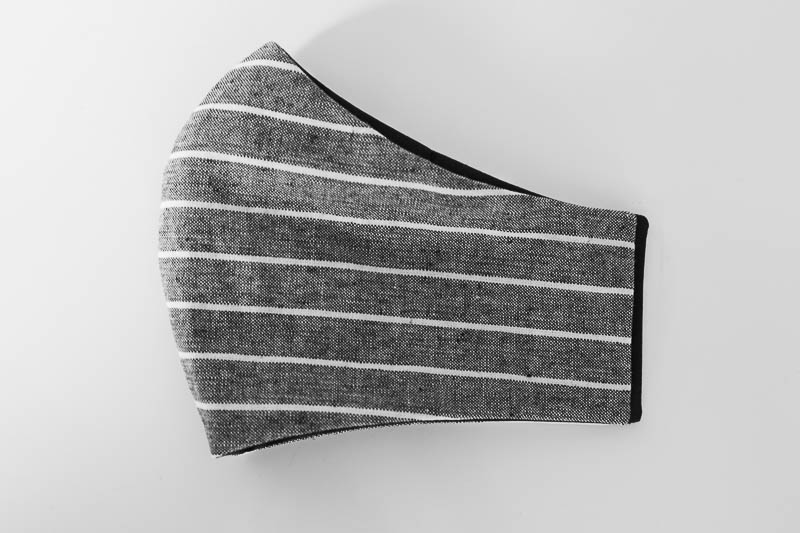
I have been scrolling through face mask patterns and decided I should put together my own tutorial. I have taken inspiration from the best features of multiple mask patterns including the Olson mask pattern. When making the mask I used both hair ties and elastic to hold the mask on. I found that the elastic gives you a better seal because it goes around the back of your head, so ideally use elastic if you have it. For the filter you insert it inside the nose pocket, I have read about the following items being used to name a few: coffee filters, tissue paper, paper towels or vacuum bags. Happy sewing.
**DISCLAIMER** PLEASE NOTE that cloth face masks are not a proper substitute for N95 masks.
This mask is ideal for personal use, by non-medical personnel in high-contact jobs such as in grocery stores, package/food delivery, etc. This mask is not an N-95 equivalent, but with the N-95 mask shortage, it is better than not wearing a mask.
As always, wash your hands often with soap and water for at least 20 seconds, especially before applying or removing your mask, and practice social distancing.
**Don’t forget to launder your mask after each use.**
| What you need: | Cutting: |
| Finely woven cotton fabric (Shirt/sheet fabric style) Thread 0.3 Micron Filter (I used a coffee filter) Small piece of wire (I used a twist tie) Elastic or 2 hair ties | Main Fabric 2 x Face Piece Lining Fabric 2 x Face Piece 2 x Nose Piece |
Patterns
Instructions
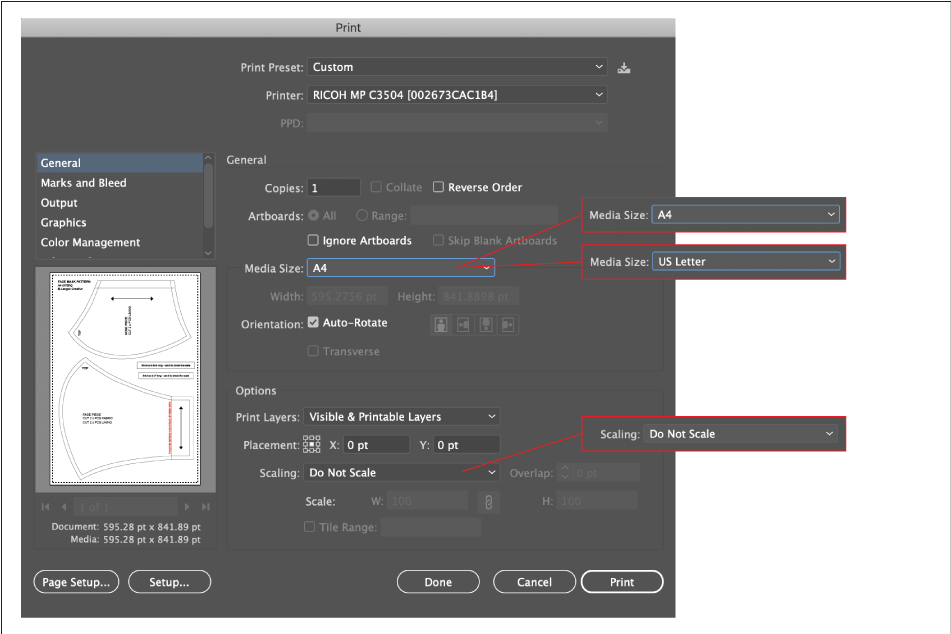
Print and cut out pattern pieces, make sure your pattern is printed to the correct scale. Measure the scale marker once it is printed to ensure the size is correct.
Tip: When printing make sure to select the correct Media Size (A4 or US Letter depending on which PDF pattern you have downloaded.
Select Scaling: Do Not Scale
No Printer?
- Get a ruler.
- Scale the PDF on your screen until the scale measurement matches the measurement on your ruler.
- Place a piece of paper on the screen, which you can see through, and trace the pattern.
Cut Out
Tip: The mask can be made out of one fabric; you do not need to have a different lining fabric

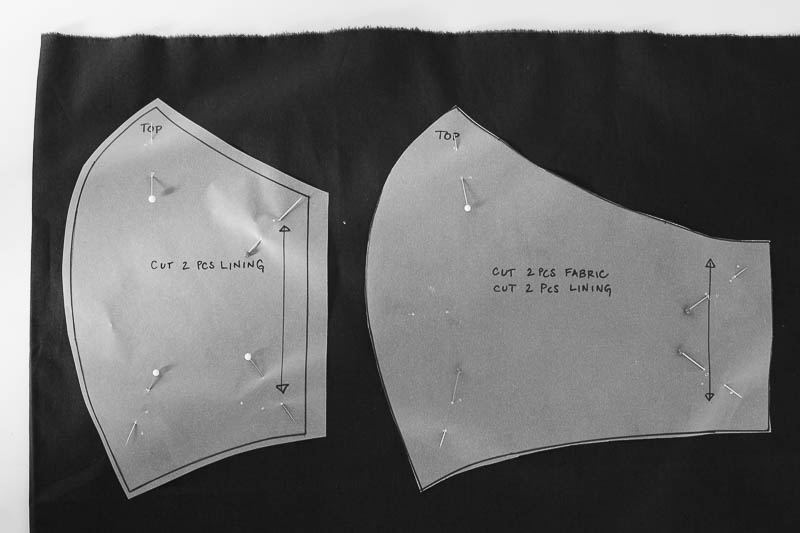
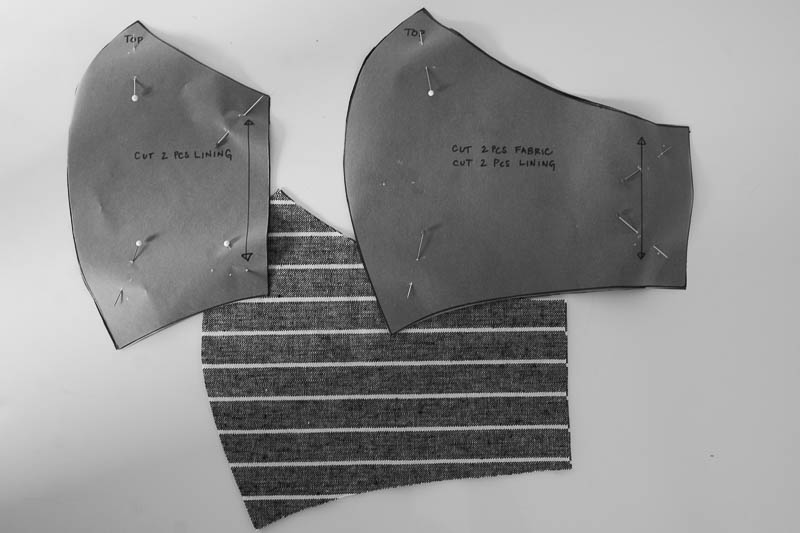
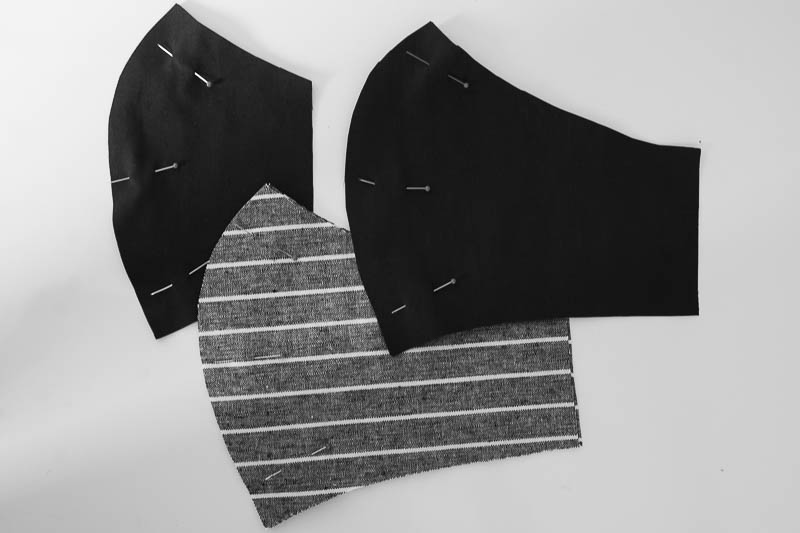
- Fold the fabric in half so that it is two layers.
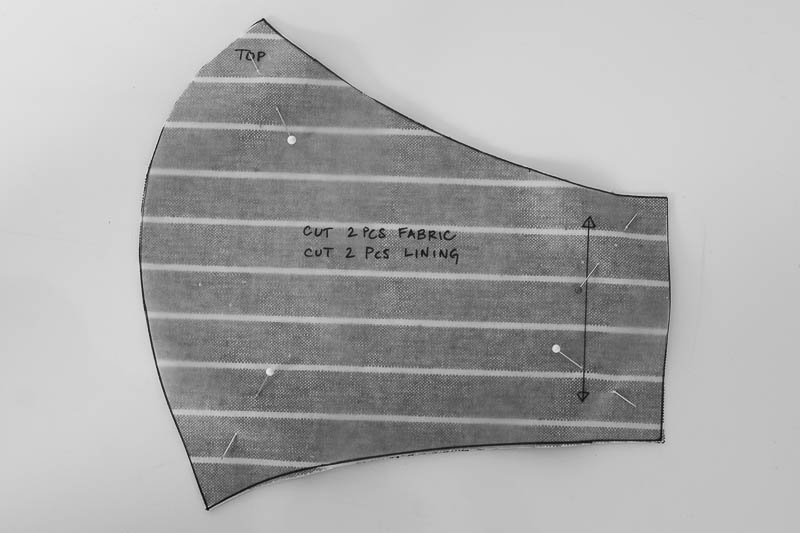
- Pin pattern pieces to the fabric as shown.
- Cut out.
Assemble
1. 
2.
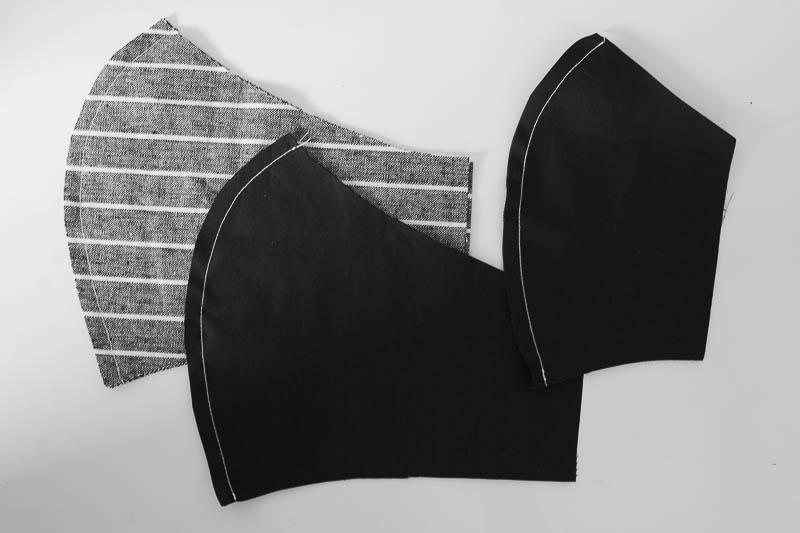
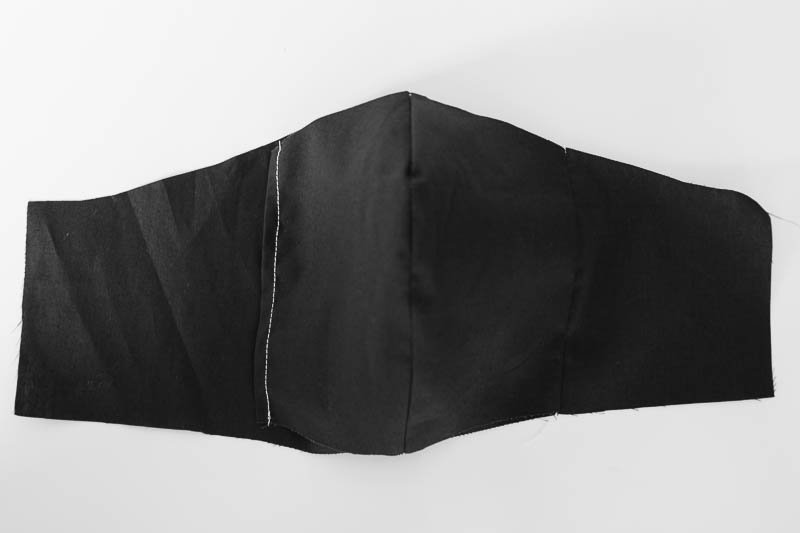
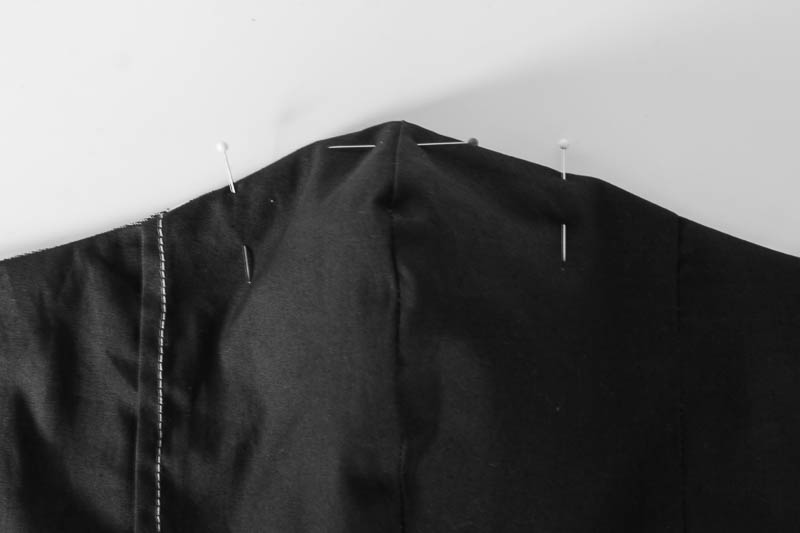
- Pin fabric together at the nose area.
- Stitch along the pinned edge.
Tip: I use my presser foot edge as a guide for seam allowance
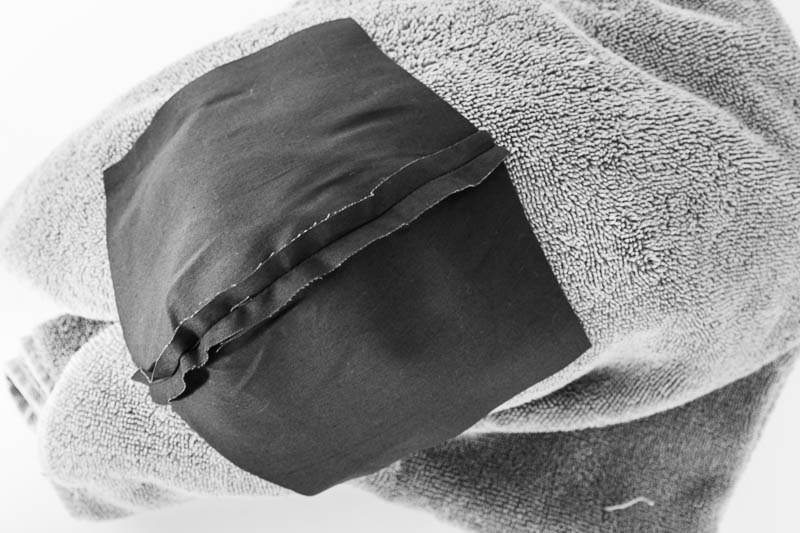
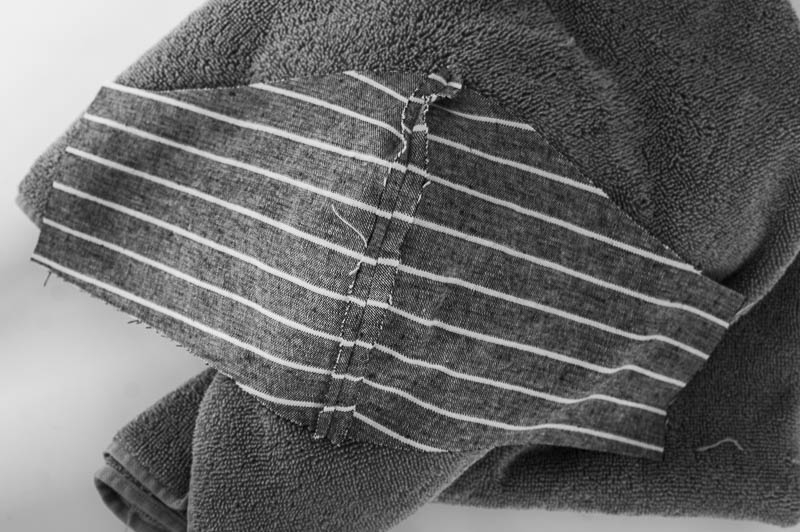
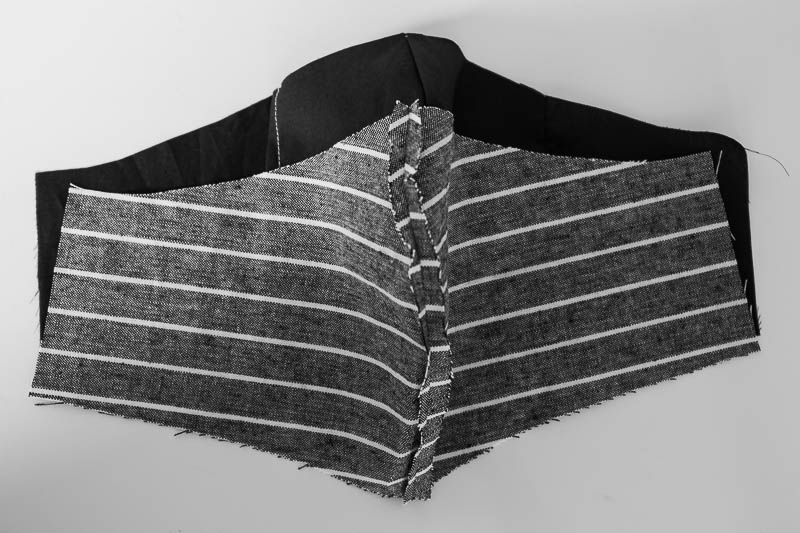
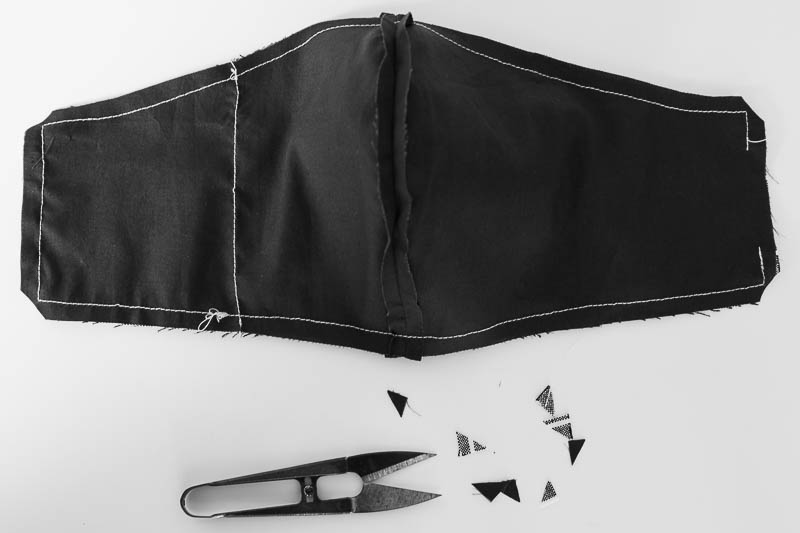
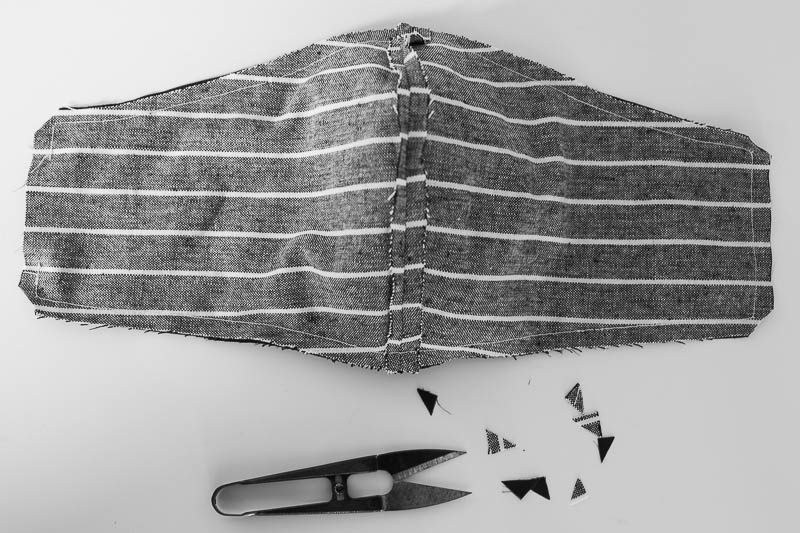
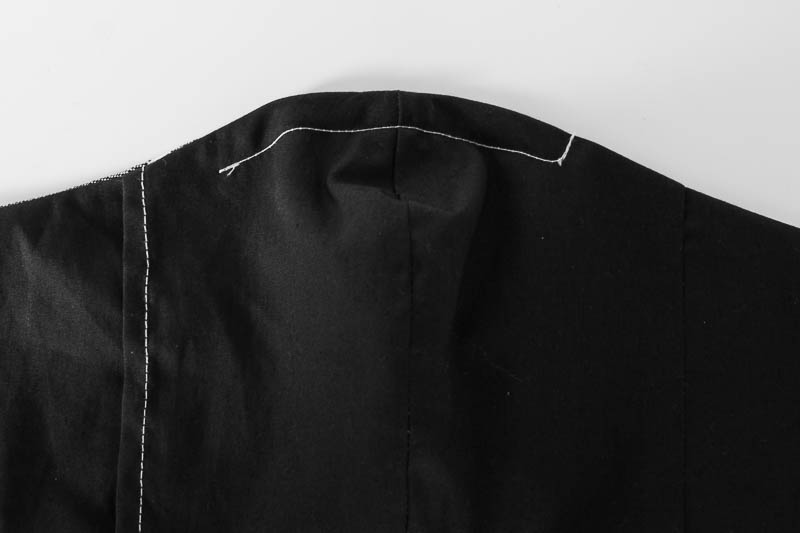
- Iron the nose seam open on all three pieces.
Tip: I use a folded cotton towel to iron the curved edge more easily
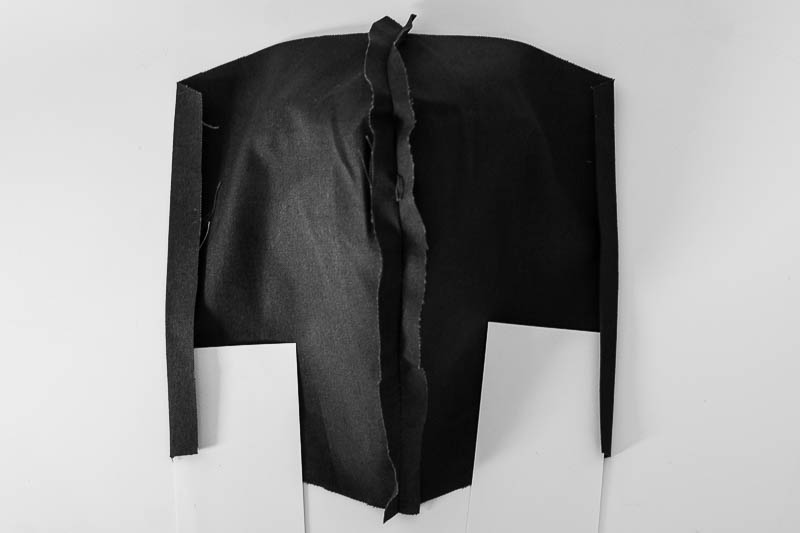
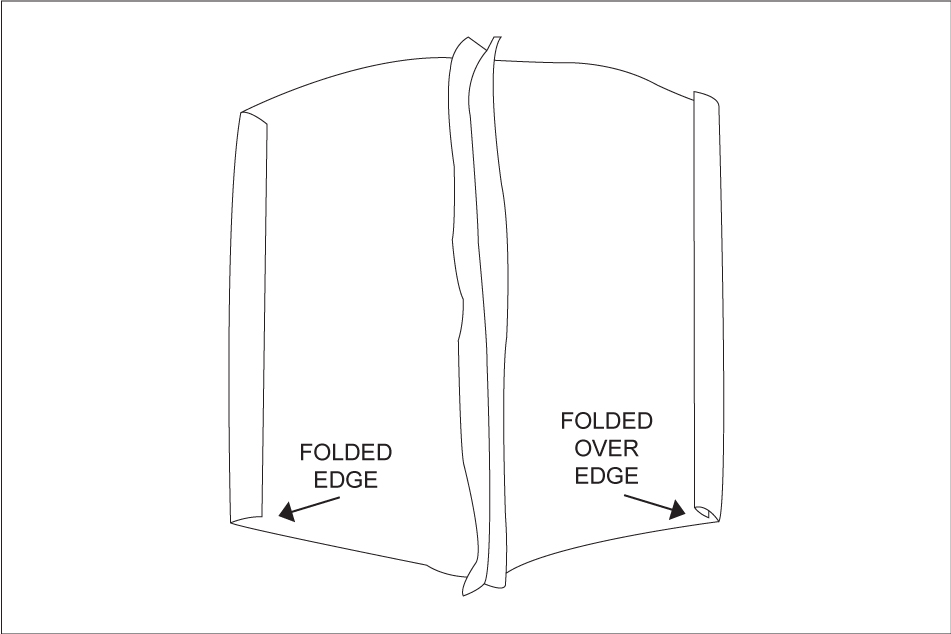
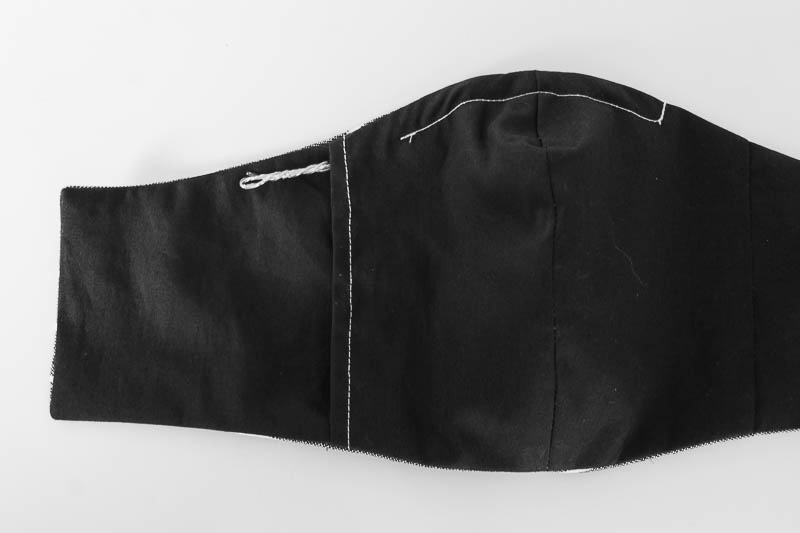
- Take the nose piece and fold approximately 1cm(1/3”) over on the left side and iron.
- On the right side edge, fold-over .5cm(1/4”) and iron, then fold over again so that no raw edges are visible.
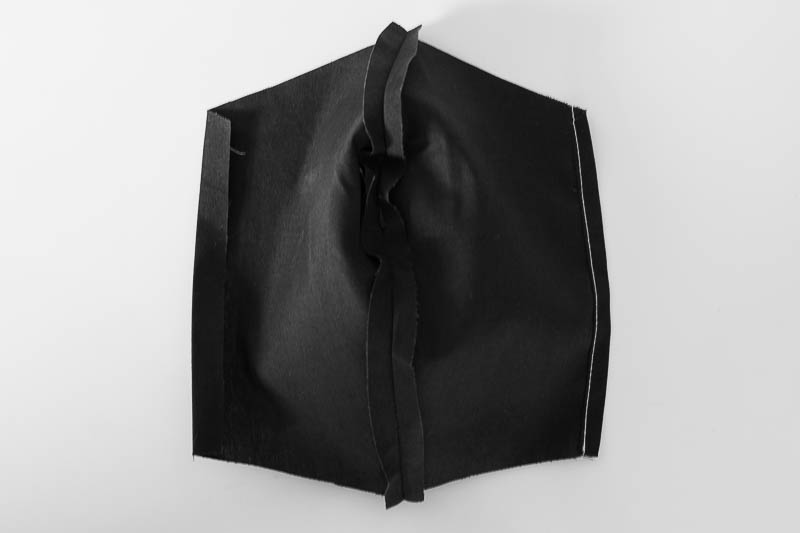
- Sew only along the right edge that is rolled over.
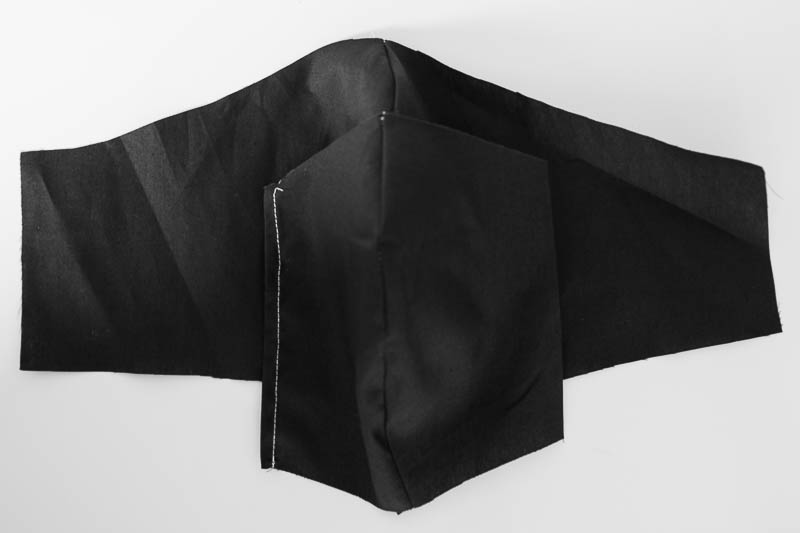
- Place nose piece on top of lining facepiece with the raw edges facing down, and secure at the centre seam with pins.
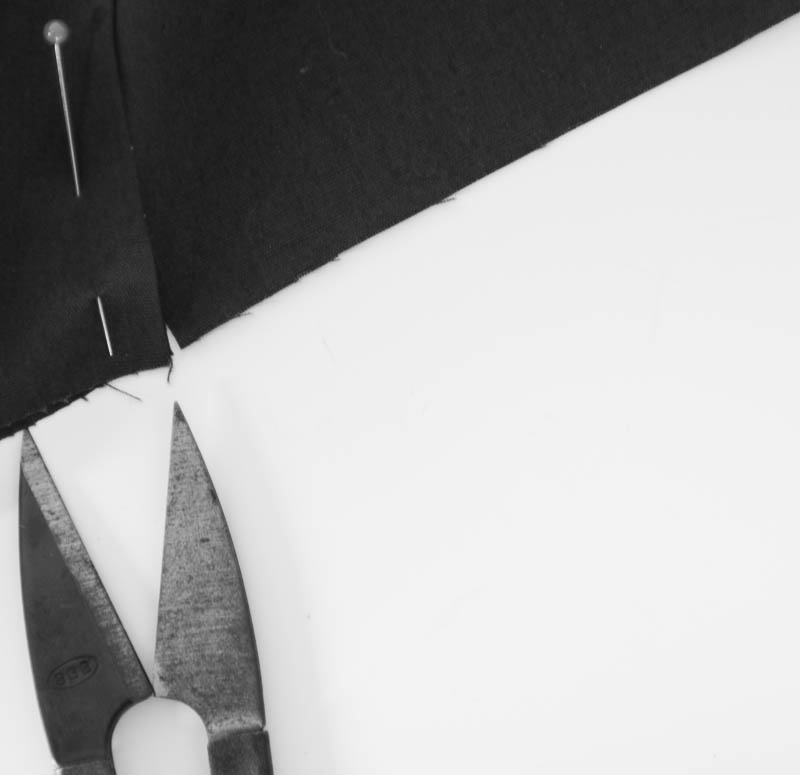
- Cut a very small notch where the right nose piece edges reaches the facepiece.
- Remove pins

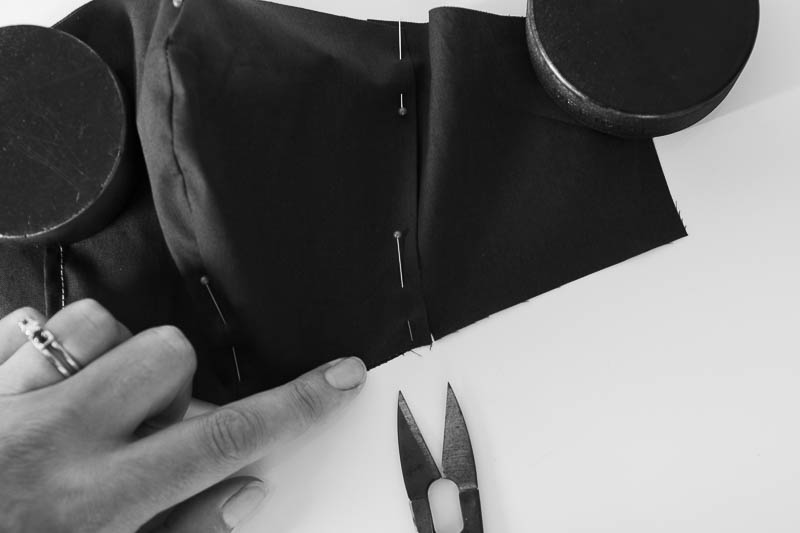
- Line up the seam with the folded edge of the nose piece up to the notch and pin.
- Sew along the fold.
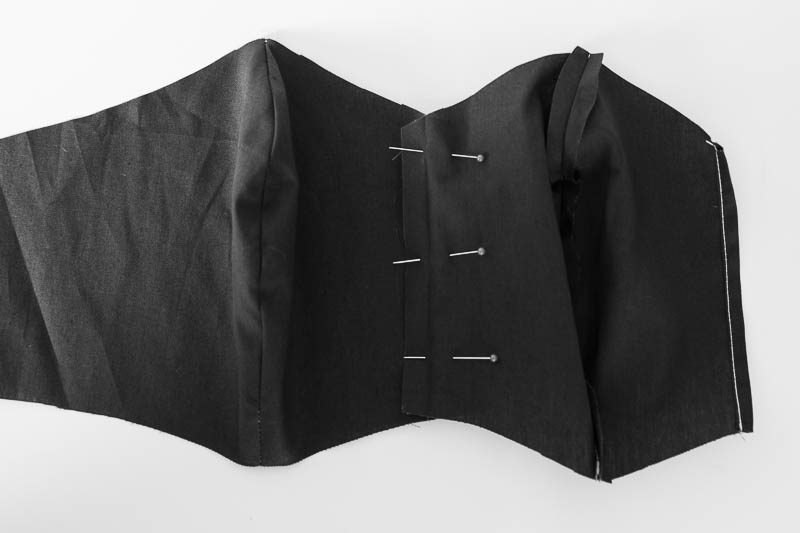
- Fold nose piece back over and iron.
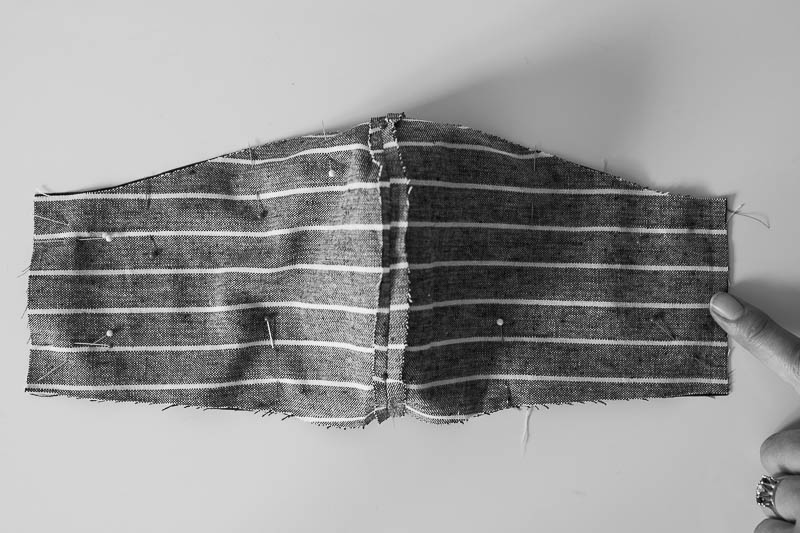
- Pin the right sides of the two pieces together.
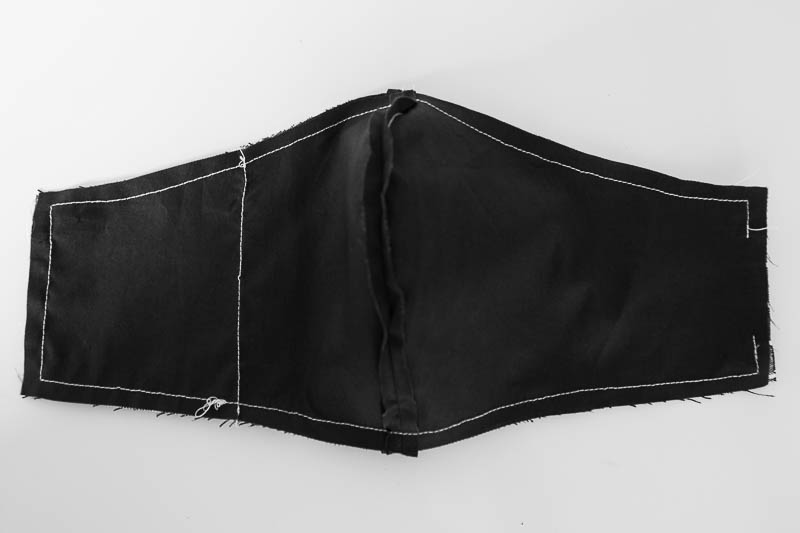
- Sew around the edges leaving a 5cm(2”) opening at one side. (The opening is where you will turn your mask the right way out.)
- Cut off the corners so that the mask will lay flat once you turn it right side out.
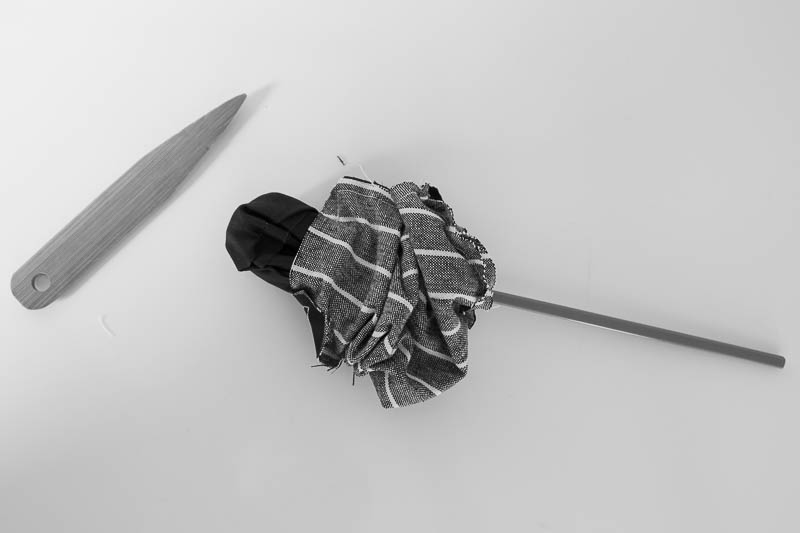
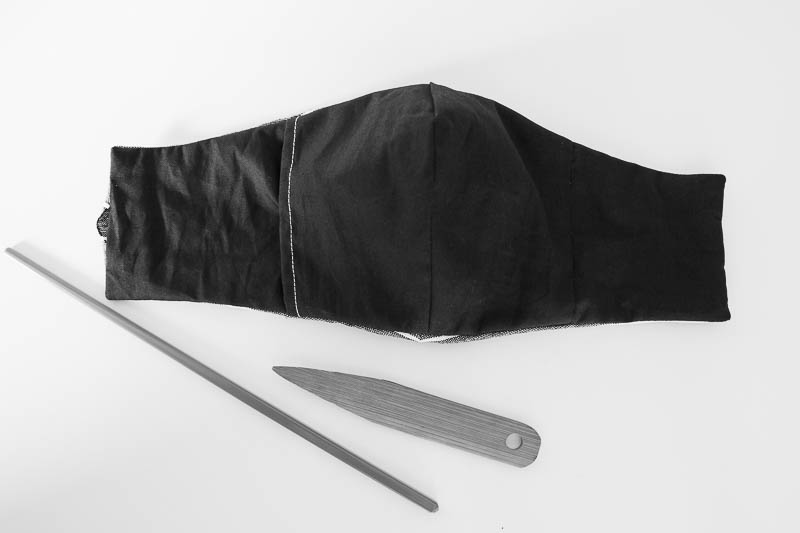
- Turn the mask right side out.
- Once the correct side is out, iron around the edges.
Tip: I use a chopstick to do this, but anything long and pointy will work

- Find a wire to create the nose bridge. The wire I used was 7.5cm/3” long, but you could use a wire up to 11.5cm/4.5”.
- Measure the length of your wire on the top edge of your mask and pin the mask layers together.
- Place one pin just past where the wire ends as you will need to pivot here. See image.
- Sew a channel for the wire; the channel width will depend on the width of the wire you are using.
- Insert wire. This may be a little tricky as you push it by the seam at the nose area, but be patient. Inserting something rigid like a chopstick first may make it easier to insert the wire.
Tip: Hold your mask against your face as you may need to fold the side edges over further depending on the size of your head.
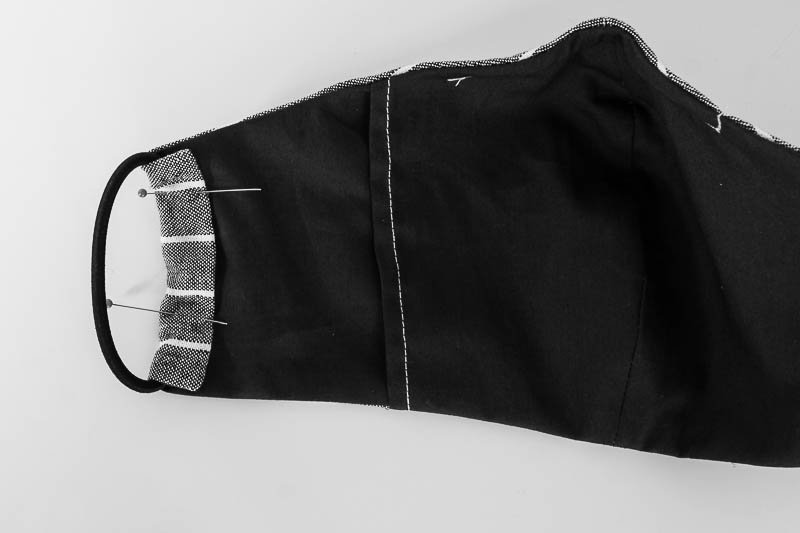
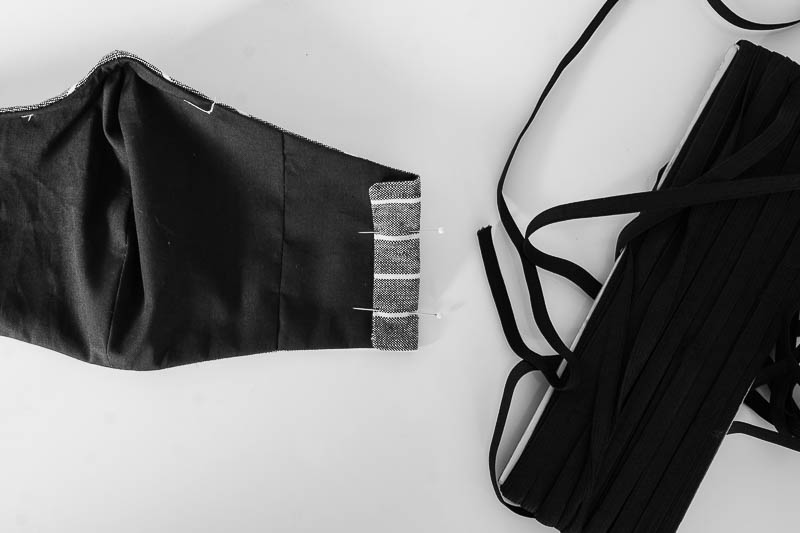
- Fold over both edges to make a channel for your elastic or hair ties.
- Sew along the edge, making sure to backstitch on both ends.
- Insert your filter in mask pocket before each use. Remove filter and wire before washing.
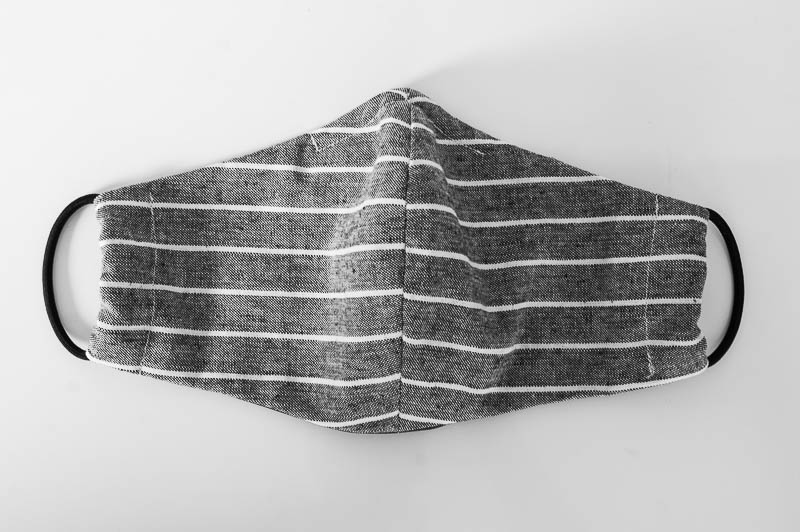
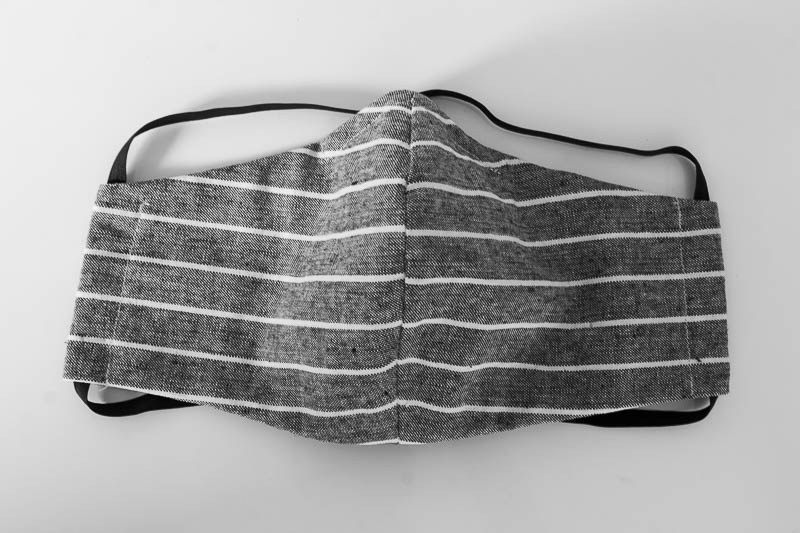
Congratulations you have made your mask, and don’t forget to wash it after each use!
Fantastic – great instructions and easy to execute!
Awesome. Best face mask pattern i have seen
These are excellent instructions, I will make a number.
Would the coffee filter inside not disintegrate it n the wash??
Thank you for the message. The coffee filter or any filter that is used needs to be replaced after each use, it is placed inside a pocket inside the mask. The filter cannot be washed.